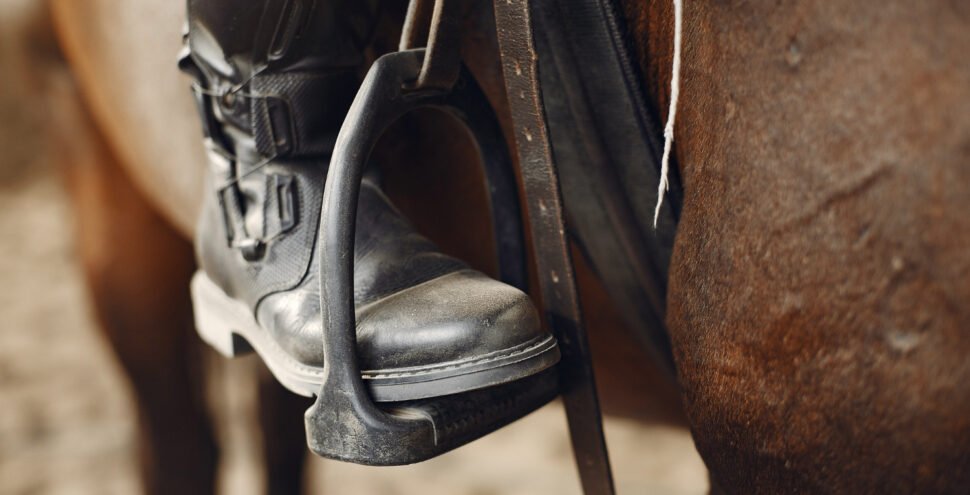
Taking care of your horse’s tack is not just about keeping it looking good; it’s also essential for the safety and comfort of both the rider and the horse. Regular cleaning prevents the build-up of dirt and grime that can cause the leather to degrade over time, potentially leading to breakages. But we understand that cleaning horse tack might seem like a daunting task, especially if you’re unsure where to start or what products to use.
In this article, we’ll walk you through the basics of gathering the right cleaning supplies to suit your needs, performing initial and deep cleaning processes, and storing your equipment correctly to enhance its longevity. Whether you’re new to horse riding or you’ve been in the saddle for years, maintaining your horse’s gear is a crucial skill that we can help simplify for you.
With us, you’ll learn how to preserve the quality of your tack with effective yet straightforward cleaning techniques that promote longevity and performance reliability every time. Let’s ensure your tack remains in perfect condition, ready for every ride.
Gathering Your Cleaning Supplies
Before we dive into the nitty-gritty of cleaning, let’s ensure we have all the necessary supplies on hand. First, a quality saddle soap is essential—it cleans and conditions the leather without stripping away its natural oils. You’ll also need a couple of different brushes: a soft brush for dust and a harder brush for stuck-on dirt. Don’t forget about a sponge or a soft cloth to apply the saddle soap, and another clean, dry cloth for buffing.
Additionally, grab a bucket of warm water to dilute the saddle soap and help in loosening dirt. A toothbrush can be handy for those hard-to-reach nooks and crannies around buckles and stitching. Lastly, consider having a leather conditioner to apply after cleaning; it helps keep the leather supple and extends the life of your tack. Having these tools ready before you start will make the cleaning process smoother and more efficient.
Initial Cleaning: Removing Dirt and Grime
Start with using the soft brush to gently remove any loose dust and hair from the surface of your tack. It’s important to do this gently to avoid scratching the leather. Once you’ve dusted off the loose particles, dip your sponge or soft cloth into the warm water mixed with a bit of saddle soap. Wring out excess water—the sponge should be damp, not dripping, to avoid saturating and potentially damaging the leather.
Begin wiping down the leather, paying extra attention to areas that accumulate more dirt, like under the saddle flaps and around the buckles. For tougher grime, lightly scrub with your harder brush, but always be cautious not to be too rough as you don’t want to scratch or damage the leather. This initial cleaning removes the top layer of dirt and prepares the tack for a deeper clean, ensuring that no surface grime gets rubbed further into the leather during the conditioning stage.
Deep Cleaning Techniques for Leather Tack
When our initial cleaning is done, it’s time for a deep clean, especially if your leather tack hasn’t been cleaned thoroughly for a while. Now, use a cleaner designed specifically for leather—these are formulated to remove tougher dirt and stains without damaging the material. Apply the cleaner with a clean, damp cloth, working in small sections. Rub in circular motions to lift the embedded dirt and bring out the natural sheen of the leather.
For those particularly stubborn spots, you might need to apply a second layer of leather cleaner. Let it sit for a few minutes to break down the dirt before working on it again with your cloth or soft brush. This attention to detail during the deep cleaning phase will contribute immensely to the overall look and longevity of your tack. Once you’re satisfied that your leather is thoroughly cleaned, rinse your cloth in clean water and wipe down the tack to remove any residual cleaner, as leaving it on can cause the leather to dry out or become sticky.
Drying and Storing Your Tack Properly
After deep cleaning, proper drying and storage are crucial steps that can’t be overlooked. Never dry leather tack under direct sunlight or with heat, as this can cause the leather to crack or warp. Instead, we always recommend allowing it to air dry naturally in a well-ventilated area. Make sure it’s completely dry before moving on to storage, as any remaining moisture can lead to mold or mildew.
When storing, hang your tack on a saddle rack or similar support that maintains its shape and prevents any unnatural bending or folding. Cover it with a breathable cloth to protect it from dust and other environmental factors. Never store leather tack in plastic bags or non-breathable containers, as these can encourage moisture buildup, which is detrimental to the leather’s integrity. Keeping your tack in a cool, dry place will ensure it remains in top-notch condition and is always ready for your next ride.
Final Thoughts
Caring for your horse’s tack isn’t just a chore—it’s a fundamental aspect of horse riding that ensures safety, effectiveness, and durability. By following these simple yet effective cleaning and storage steps, we can guarantee that our equipment will serve us well for years to come.
And remember, for the finest in equestrian gear that matches the quality of your newly cleaned tack, visit Diamont Equestrian. We’re here to outfit you and your horse with only the best!


